2022_06_24
 1 Now that there ain't right. Perhaps the root of this explains the weak braking. |
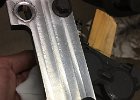
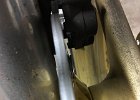
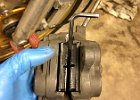
 2 Previously, the rotor was rubbing on the caliper. |
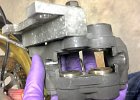
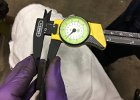
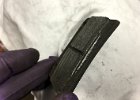
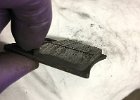
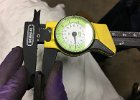
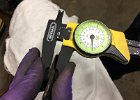
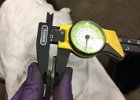
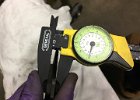
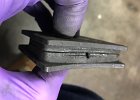
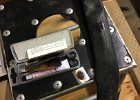
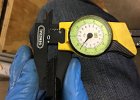
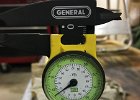
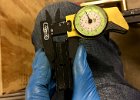
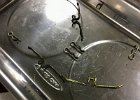
 3 Measuring some wear on the pads. Will measure each corner because they were not wearing evenly. First we see how thick the backing plate is. Then we can tell how much friction material we had left. |
 4 |
 5 |
 6 |
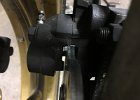
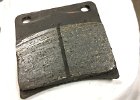 7 Much evidence of problems here. |
 8 |
 9 |
 10 The the pad. |
 11 |
 12 |
 13 |
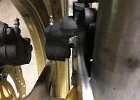
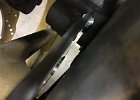
 14 Together you can see how they were once rubbing on the floaters. |
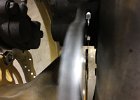
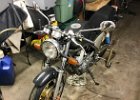
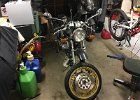 15 Wheel off so we can pull the old rotors. |
 16 Lot of evidence I didn't know how to measure. Don't use that half-exposed hole on the lower right! |
 17 We try a new game we heard about. I dunno what kind of bird a stilt is but I can guess the fifth letter if I've got four. |
 18 2 of 3 random germinated seeds are this variety. Still waiting for a flower from #3. |
 19 I'm "drinks coffee while wrenching on the bike" years old now. |
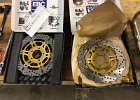 20 Came from different warehouses. Packaged differently. Product markings are different. They are the same in important specs though. |
 21 New rotor is this thick. |
 22 Old rotor with about 1mm of steel worn away is this heavy. |
 23 |
 24 New rotor at full thickness is barely heavier. Only an ounce or two. |
 25 |
 26 USPS tracking still said these were in New York yesterday when I checked. Good thing I was home and answered the door. Signature required for a $30 order seems strange. |
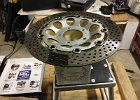
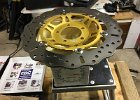
 27 New rotors on, ready to go back on the bike. |
 28 Checking caliper centering. No pads yet. This side looks good. |
 29 |
 30 Checking centering on this side. Way more clearance here. |
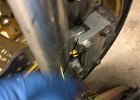
 31 NO CLEARANCE here to inner side of caliper body. Eek. |
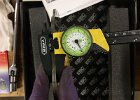
 32 We measure clearances with items of known dimension. |
 33 We find washers to help recenter the caliper. It's a clue that the well centered side already has washers. |
 34 Better? |
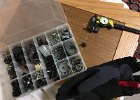
 35 While we are in the garage with nitrile gloves on let's make sure I have a spare 26" tube for tomorrow's mountain bike ride. The one on the right was previously patched but the patch didn't hold. |
 36 Using a hopefully better patch kit while I have time here in the garage. |
 37 Pointing to the washers. |
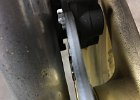
 38 Not touching the rotor anymore. |
 39 Pretty similar over here. But, note that the outer edge of the rotor is just touching the body of the caliper. Need to loosen the bolts and push any slack in the mounting away from the rotor. Yes, clearances are that tight. |
 40 New pads are like this. |
 41 |
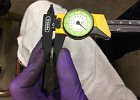
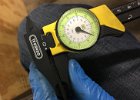
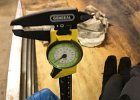 42 Total depth until wear bar. |
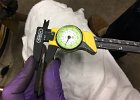
 43 Enhance. |
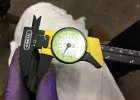
![IMG 8816 Total depth to backing. [Enhance photo was taken but was blurry.]](thumbs/IMG_8816.JPG) 44 Total depth to backing. [Enhance photo was taken but was blurry.] |
 45 Together. Need this much + five mm between pistons, to fit the caliper over a new rotor with new pads. |
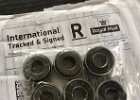
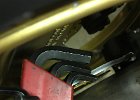
 46 5mm allen key fits. Ready. |
 47 All good now? |
 48 Now I just have to move everything in the garage around until I find where the one of these went flying. |