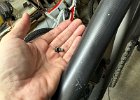
1 Yes, you need two 5mm Allens at the same time for this.
2 Leave the pin in up front to hold that end of the shock.
3
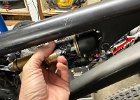
4 Remove collet next.
5 Thread engagement was longer than I expected.
6
7
8 Lil one goes in the end of the pin on rider's left.
9
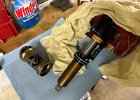
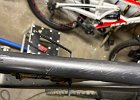
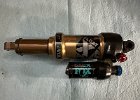
10 A lot easier to remove than the Mount Vision's shock for sure.
11
12 We break for lunch.
13 Koba says you remembered to get fries, right?
14 He got some fries thanks to his fairy godparents.
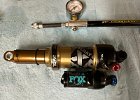
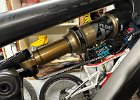
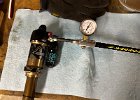
15 Back to this. 180 on removal, after hooking up pump. Notes say it was at 190. This seems reasonable.
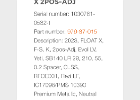
16 Search engine results say get this kit. [Foreshadowing.]
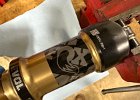
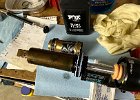
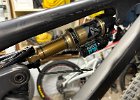
17 "Before" shot showing how the label on the air-can body lines up with the cap.
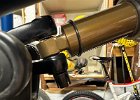
18 Reasonably easy to open.
19 Clean.
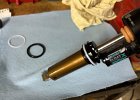
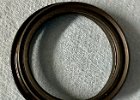
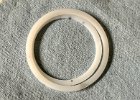
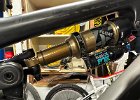
20 Noticing odd stuff with the shock versus the kit. That thick ring isn't even split to come off.
21 New and old are not the same diameter.
22 Again. New shock has bigger diameter air-can than this kit expects.
23 New oil. Reassemble. Grr.
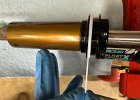
24 Very hard to press air can on, until it hits the transfer valve. Note also the spacers were too damn hard to remove on the top of the shock so they stayed there. No issues with that.
25 Ready to pressurize again.
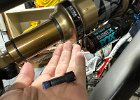
26 Used the code on the shock to get this.
27 Click through to this.
28 Don't want to read all this on the phone though. Managed to get URL from safari and send to the laptop. Correct kit # was there. Next time.
29 Ready to remount. Have to make sure the shaft of the shock is rotated so the collect will line up through it.


![IMG 5791 Search engine results say get this kit. [Foreshadowing.]](thumbs/IMG_5791.JPG)