2024_01_14
 1 Once I remembered I had this Dremel accessory that would allow sanding the full depth of the inside of the grip, I was home free. |
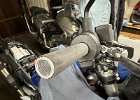 2 This got one last session with fine grit sandpaper to make for easier sliding. |
 3 This grip is now slightly overbore. I was worried it might not take much to breach into the actually heating element layer, but that did not happen. |
 4 A bit of hairspray acts as lube while it is wet, and then as glue when it is dry. Good stuff. Smells like Grandma's house too. |
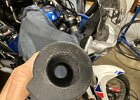
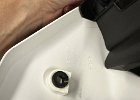
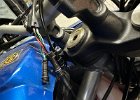
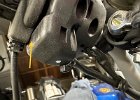 5 Watch out you don't slide the grip on too far and wind up with the throttle sticking against this. Cruise control that you didn't ask for or expect can be a problem. |
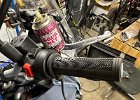
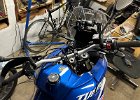 6 Grips installed! Time to run the cabling and hook up power. |
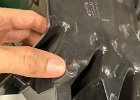
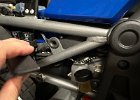
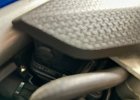 7 Had to look up how to operate this "clip" in the shop manual. |
 8 Pull the center down, then pull the whole thing out. Old guy hands are not fond of this. |
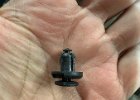
 9 That ain't a black olive. |
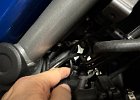
 10 This post. |
 11 And this post. |
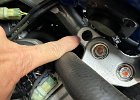 12 Go in their respective holes. Takes a bit of fiddling. |
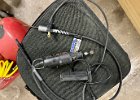
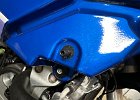
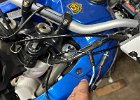
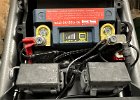
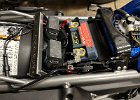 13 We begin the power cable run from back here. |
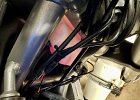
 14 Unbolting this side panel helps feed it through available passages. |
 15 |
 16 |
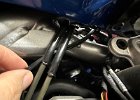
 17 And now we are up to the wiring pigtails coming off the grips. Success. |
 18 Feed from the grips through the provided cable-securing guides. |
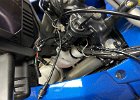 19 Some back and forth of the handlebars will be needed to see where these things must run. |
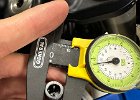 20 12mm OD. Nothing in the metric thread gauge I had would match up. Didn't seem to be 1.00 or 1.25 pitch. Very strange. Almost like a mix of metric and SAE. |
 21 While moving the bars around I was like hey, these things are warm. As soon as the power was hooked up they rose to life. I set them for the Li-Ion battery setting and then turned them off. |
 22 2" of rain yesterday equals Koba zoomies today. |
 23 If I ever unbolt this all again the washers are going up top directly under the bolt heads. This all turned out reasonably well. |
 24 Time to zip tie these lines to some buddies. This is up just under the bars on the right side. The slack all got pulled back toward the battery. |